We the Sea

navbar

Image Map

January 31, 2014

San Fran

I think one of my favorite things to do is exploring cities.  I love being able to go somewhere and find all the little nooks and crannies that the normal tourist wouldn't find.  Last weekend my friends and I took a semi-spur of the moment trip up north to San Francisco to tour the city and see a concert by an extremely talented band named Gungor.  This trip was equal parts amazing and chaotic, and I think the combo of the two is what made it so memorable.

We only had one day in the city (we got there on Sunday morning and we were to leave Monday morning) and all but one of us had never been to SF, so we had to hit every single iconic part of the city in about 5 hours.  We went to Chinatown, Pier 39, Ghiradelli Square, and Union Square, to name a few.  We walked to every single one of these places, which, while very painful on the feet, was such a fun way to see the city.

I am so excited to go back to San Francisco soon and discover more of the culture.  In the mean time, I will be reminiscing about the trip with some of these pictures I took.


Sorry for the picture explosion!  I just had to share :)


post signature

January 24, 2014

DIY: Fabric Wrapped Binders


My absolute FAVORITE thing about going to school as a kid was getting school supplies.  Every year a few weeks before school started my mom would take me to Staples and I would go absolutely nuts.  I needed pens of every color, the coolest mechanical pencils, cute binders, an awesome pencil pouch, etc. I don't know why I enjoyed it so much, but it was definitely the best part about starting school every year.

Now I am in college, and while I don't find myself itching to run out and get supplies every quarter, I still do love having unique items to tote around to my classes.  This is why when I spotted this blog post on Pinterest I was inspired to make my own version. So, I present to you the cutest binders you will ever lay eyes on :)

Here's what you need:

- Binders
- 1/2 yard of fabric per binder (I had four binders so I bought two yards)
- Spray Adhesive
- Glue Gun
- Binder labels or Book Plates (optional)


First, you will want to lay your binder on your fabric with the pattern facing down.  Leave about an inch of room on the top and the sides.  If you want your pockets covered too leave enough fabric to cover them completely with about an inch extra.


Spray the front of the binder with adhesive first and lay it on the fabric, making sure the binder stays flat.  You will probably want to do this outside because the spray leaves surfaces a little tacky. After you have done the front, fold the binder closed and attach the fabric to the spine.  Then bring the fabric over top, spray the back of the binder, and smooth it down.


Next, trim the corners like so to remove excess bulk.  Then, with either the spray or the glue gun (I vote glue gun), begin folding in the hems of the fabric and gluing them down.  Once you have done this on the top and the sides, fold the fabric in and glue it down to the binder.


If you have binder clips lying around, use them to hold down the fabric for a little while.  Next we will deal with the pockets.  If you don't want to do this, just simply repeat the previous steps on the bottom hem.


Cut the fabric up to the base of the binder like in the picture so you can slide it around the metal piece. Bring the fabric up towards the pockets.  You can see I cut another part at the top because there was a mini pocket of sorts towards the middle of my binder.

Next, all you have to do is put glue on the inside of the fabric, lift the pocket up, and wedge the edge of the fabric in.  It is a little tricky but its not too difficult!

Once you have completed this you are done! Now you can set your binders on your book shelf like I did and admire how your beautiful work (no shame!).


Now you have adorable binders you can carry around! They don't just have to be for school, either.  You can put recipes in them, magazine clippings, or even DVDs.  Hope you enjoyed this post :) Have a great weekend everyone!


 post signature

January 8, 2014

Wanderlust


Just the other day I started a new book entitled "Eat Pray Love".  For those of you who haven't read it, this story is about a woman named Liz who embarks on an adventure to Italy, India, and Indonesia after being dealt some bad cards in life.  She decided to travel to recover from her past, to indulge in the moment, and to find the person she had lost over the past years.

The whole time I was reading this book there was one thought in my head:

 I want to travel

I believe all of us are born with a certain sense of 'wanderlust'.  We are inbred with a desire to leave the places we call home and simply go. This "leaving" may mean venturing across the world, cross-country, or maybe just across your hometown.  Either way, I think we are all meant to leave the comforts of home to explore and dig deeper in order to find out more of who we are.

I have never been out of the country.  I have been lucky enough to travel through many states (mostly by trailer), which has been an amazing experience, but there is something so familiar about this country.  Even while visiting the captivating state of Alaska (if you ever get the chance to go here, PLEASE GO) or the quaint towns tucked away in the mountains of Colorado, everywhere I go I know that there will be people speaking english, a Starbucks around the corner, and an internet connection at my fingertips.  And while I am very fortunate to be able to say this, there is something so enticing about the idea of not immediately having these things.

I want to travel. I always have and I always will.  I want to be in a country where I don't know the people, the food, the landscape, the language.  I want to be pushed out of my comfort zone. I want to be lost in a beautiful place and not desire to be found.  I want to try new things, meet new people, and make memories that will stay with me forever.

I want to travel all over the world, but the one place I MUST visit before I die is Ireland.  There are a multitude of reasons why, but the main reason is because of the movie 'P.S. I Love You' (cheesy, I know).  One of my favorite scenes in any movie ever is a scene within this movie when Holly gets lost in Wicklow Mountains National Park. The setting is the most enchanting place I have seen, with rolling green hills, cloudy skies, and vivid wild flowers lining the road she ambles along.


I think ever since I have watched this movie I have been enchanted by Ireland.  I'm don't know if all of it is pretty as this, but there is something so magical about what I have seen of this far away land.  I know it probably doesn't have as much history as Spain or good food as Italy, but the beauty of this place has captured me from the start and I will always want to go there.

A few other places I really want to visit are Italy, Greece, and Spain.  I've always wanted to go Iceland as well, mostly since watching this music video that is shot entirely in this country.  I just saw The Secret Life of Walter Mitty as well (go see this movie right now!!), which completely rekindled my desire to go there!

Lately I have been experiencing wanderlust, and while I can't act on it at this very moment, it is inspiring to know that one day I will go.  Maybe to Ireland, or England, or Scotland, or Italy.  Where it may be, who knows, but I will do it.  I know that for sure!

Whats at the top of your travel bucket list?

post signature

January 4, 2014

Memories


Happy New Year everyone!! Anyone else feel like this year flew by? I seriously do.  It went by so incredibly fast.  I have been thinking for the past few weeks, and I realized that I want to do two things this year: one, start journaling more, and two, start taking more pictures.

Now, I am going to expand on numero uno for a little while.  I will start off by saying that I am by no means a journaling type. I remember as a child I always wanted a new journal.  All of my cool friends and the girls on my favorite TV shows had journals that they wrote in every day, and I wanted to be exactly like them.

So, I would go out and buy a sparkly journal (Hello, Lisa Frank) and then write for maybe a day or two.  The entries would go something along the lines of, "Dear Journal, my brother picked on me today and my mom bought me some Polly Pockets. Love, Melissa" After writing different variations of this for a few days, I would set the journal down somewhere and never pick it up again. Ever. I can recall doing this about 10 different times. I was an odd child.

Anyhoo, because I am obviously not the best at sticking with little tasks like this, I am going to make it easier on myself with a little DIY craft.  I call this (...drumroll please...) the Calendar Journal!

This little guy is awesome because, for one, it looks cute, but it also allows you to document your life with just a few words a day.  This journal has a card for every day of the year, and you basically write down something memorable that happened to you each day, whether it be good, bad, or just normal.  I love this because you keep doing this year after year, and as you continue through the journal for the second, third, and fourth time you can look back on what happened to you each day in the preceding years.  Awesome, right?!

So, here is what you need to make this little dude:


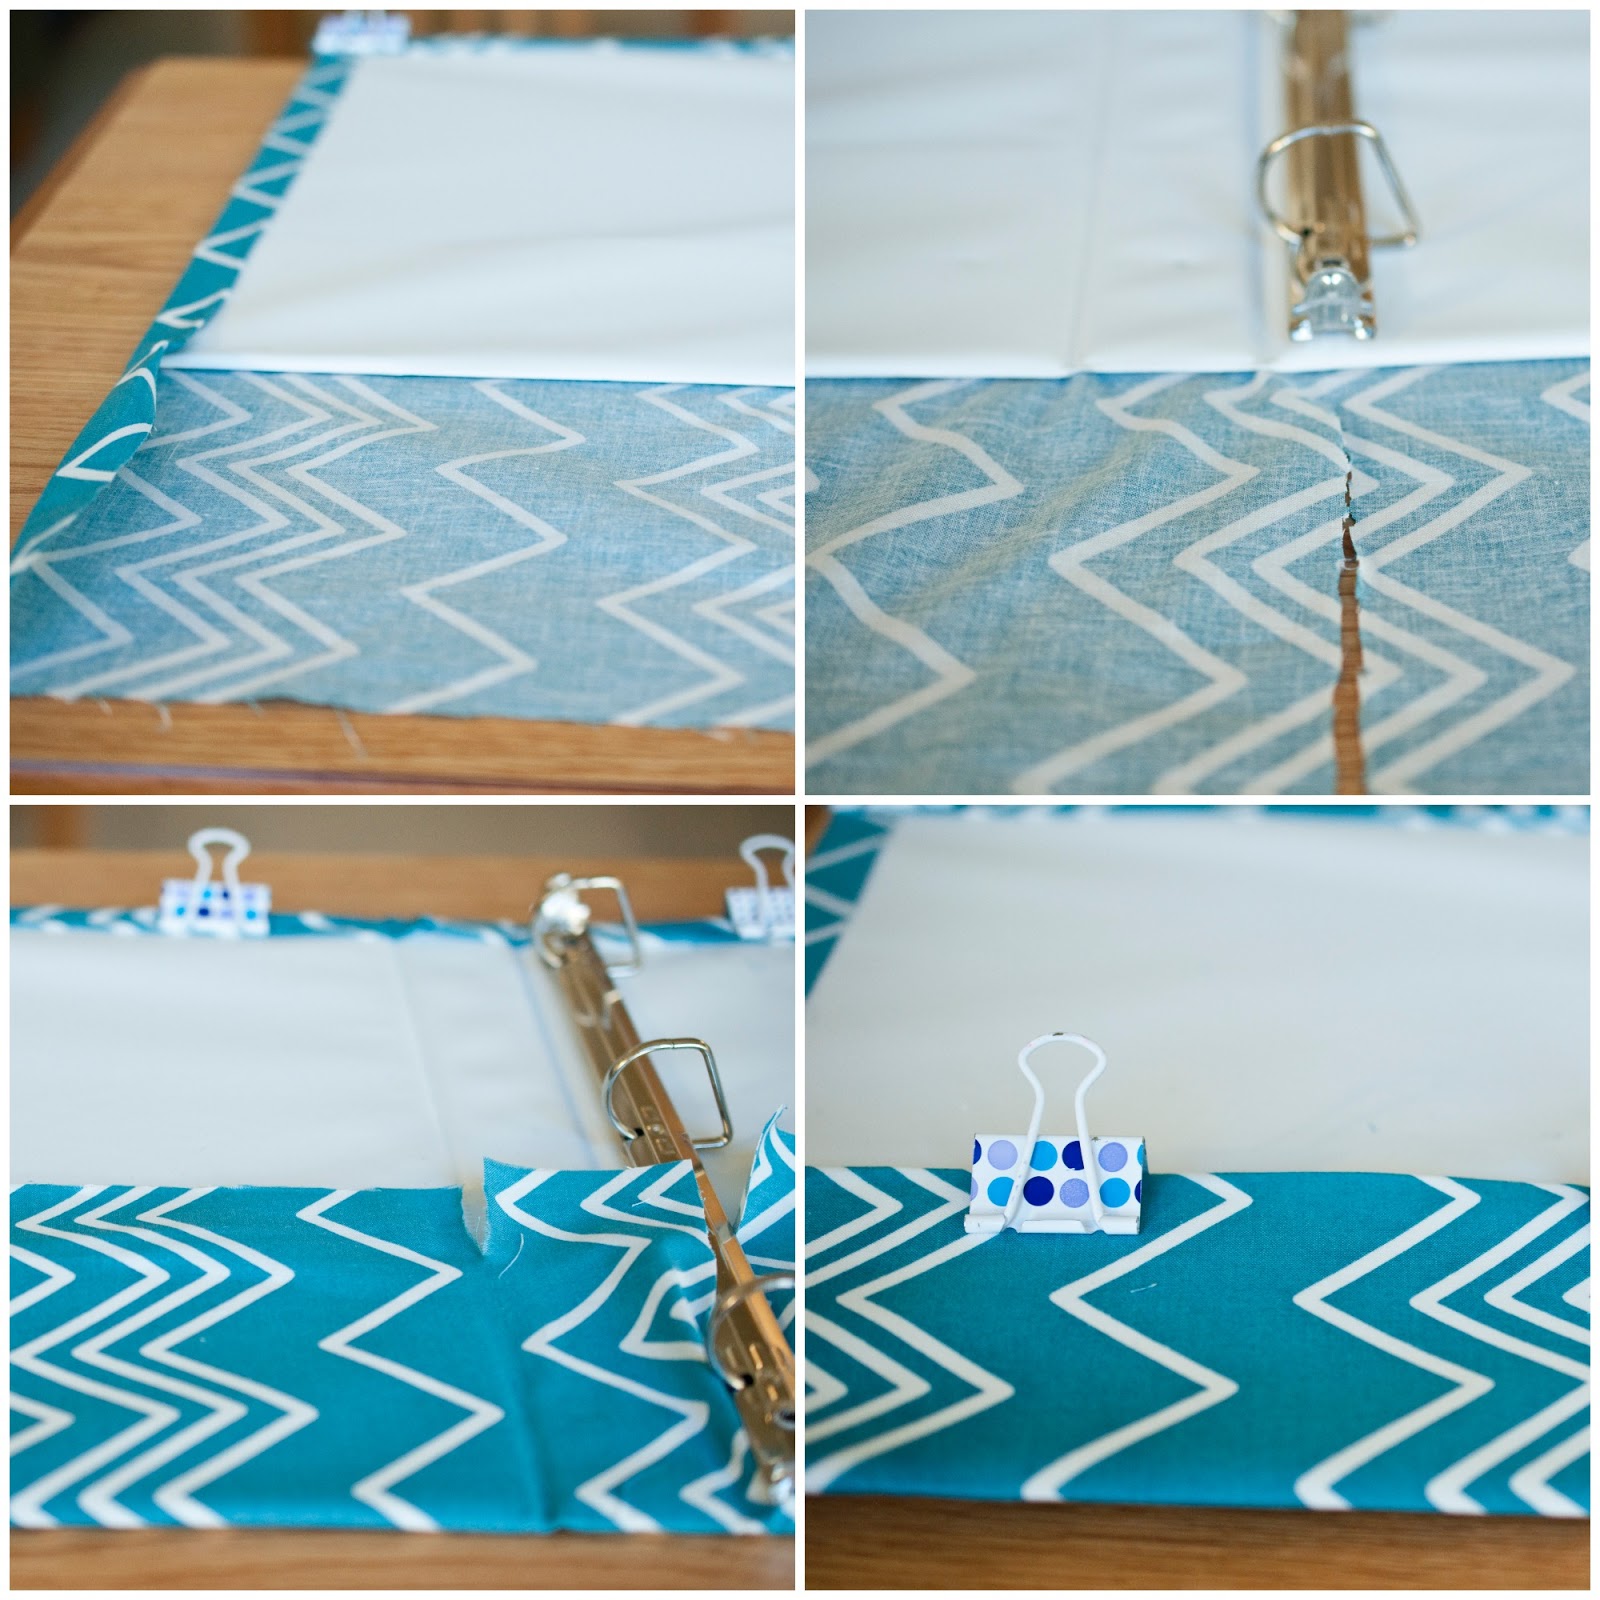
First off, you need to cut the 4x6 cards in half in order to get a bunch of 4x3 cards.  Basically cut up all of one set of 100 cards, and then pull out 17 from the second and cut up the remainder.  This will get you 366 smaller cards.  I used a paper cutter for this because I had one lying around and it makes it go a little faster. Scissors will work fine, though. You are going to be putting these sheets in the berry basket, which you can find at Anthropologie.


Next, take your colored paper and cut out twelve 3 by 4.25 cards to use for the month markers.


Once you are done cutting out your markers, count out sheets for the number of days in each month and place the markers at the front, like so.


Next, you are going to stamp the dates on the lined cards.  This part takes a little while but just keep pushing through! If you aren't a perfectionist like me you can just write the dates on - this will go a lot quicker.


After you are done with this, all you need to do is write the months on the colored cards and you are finished!


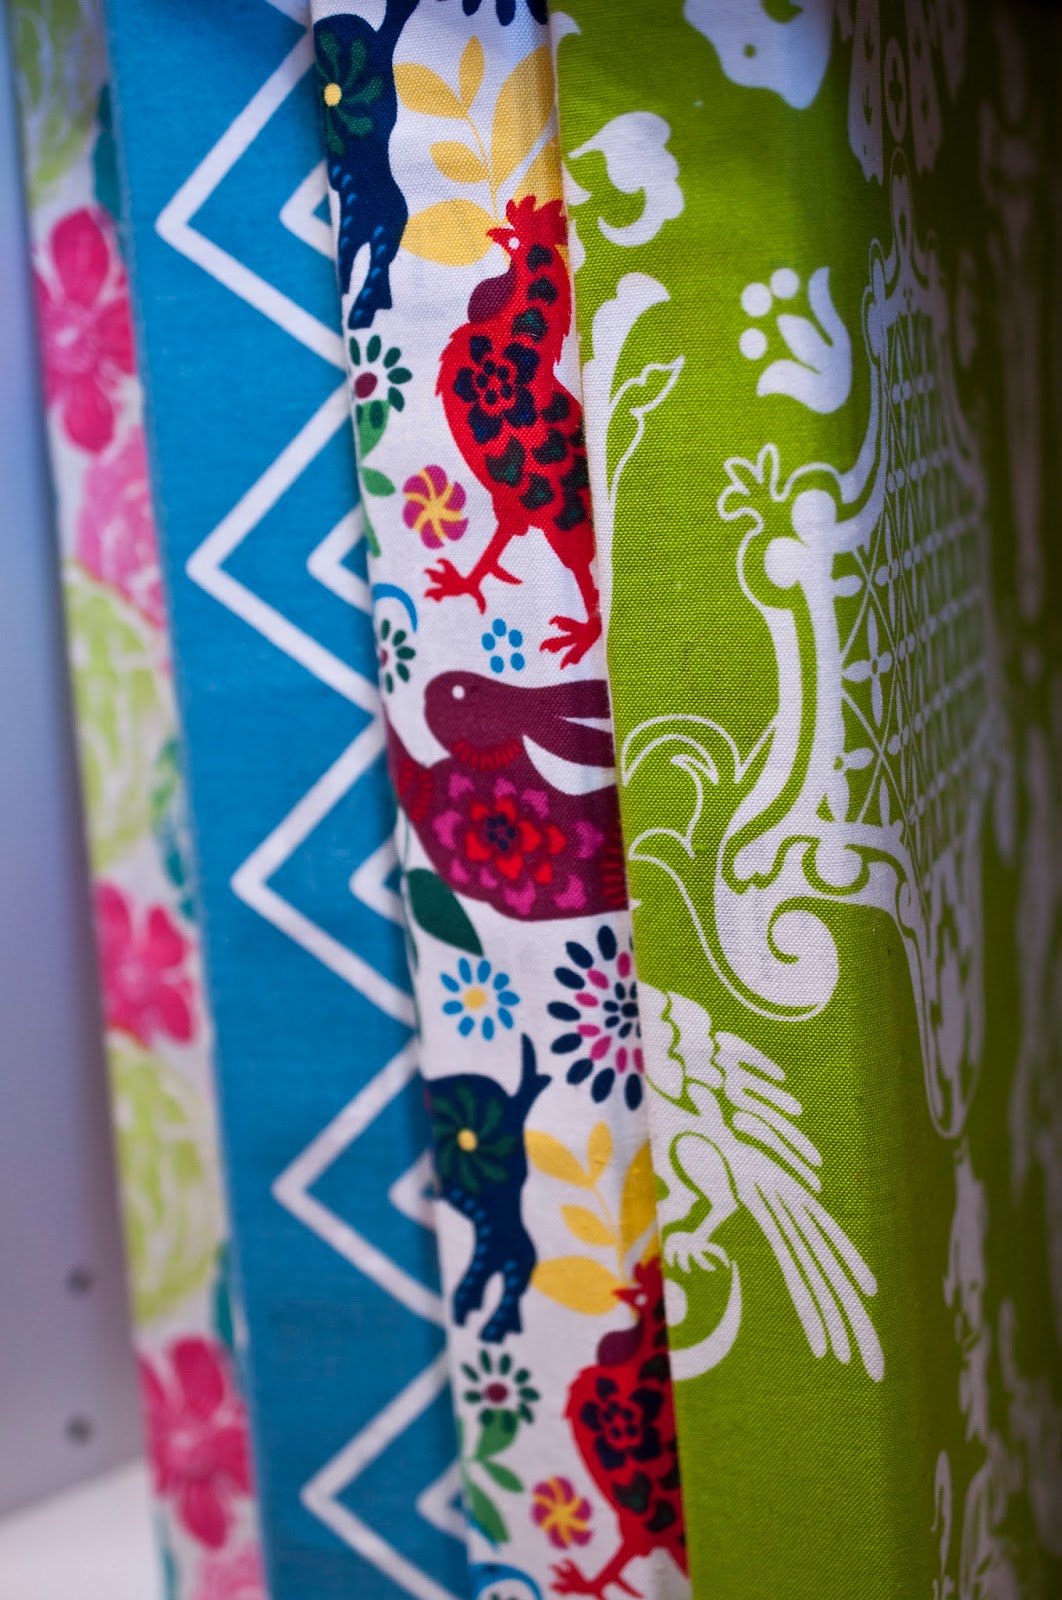
This is what the finished calendar should look like.  Cute, right? :)

Hope you all had a wonderful new year!

P.S. To expand on number 2 from the beginning of this post, I am starting a Project 365.  To learn more about what this is and see the pictures I am posting, click here


post signature