

My absolute FAVORITE thing about going to school as a kid was getting school supplies. Every year a few weeks before school started my mom would take me to Staples and I would go absolutely nuts. I needed pens of every color, the coolest mechanical pencils, cute binders, an awesome pencil pouch, etc. I don't know why I enjoyed it so much, but it was definitely the best part about starting school every year.
Now I am in college, and while I don't find myself itching to run out and get supplies every quarter, I still do love having unique items to tote around to my classes. This is why when I spotted this blog post on Pinterest I was inspired to make my own version. So, I present to you the cutest binders you will ever lay eyes on :)
Here's what you need:
- Binders
- 1/2 yard of fabric per binder (I had four binders so I bought two yards)
- Spray Adhesive
- Glue Gun
- Binder labels or Book Plates (optional)


First, you will want to lay your binder on your fabric with the pattern facing down. Leave about an inch of room on the top and the sides. If you want your pockets covered too leave enough fabric to cover them completely with about an inch extra.

Spray the front of the binder with adhesive first and lay it on the fabric, making sure the binder stays flat. You will probably want to do this outside because the spray leaves surfaces a little tacky. After you have done the front, fold the binder closed and attach the fabric to the spine. Then bring the fabric over top, spray the back of the binder, and smooth it down.

Next, trim the corners like so to remove excess bulk. Then, with either the spray or the glue gun (I vote glue gun), begin folding in the hems of the fabric and gluing them down. Once you have done this on the top and the sides, fold the fabric in and glue it down to the binder.

If you have binder clips lying around, use them to hold down the fabric for a little while. Next we will deal with the pockets. If you don't want to do this, just simply repeat the previous steps on the bottom hem.
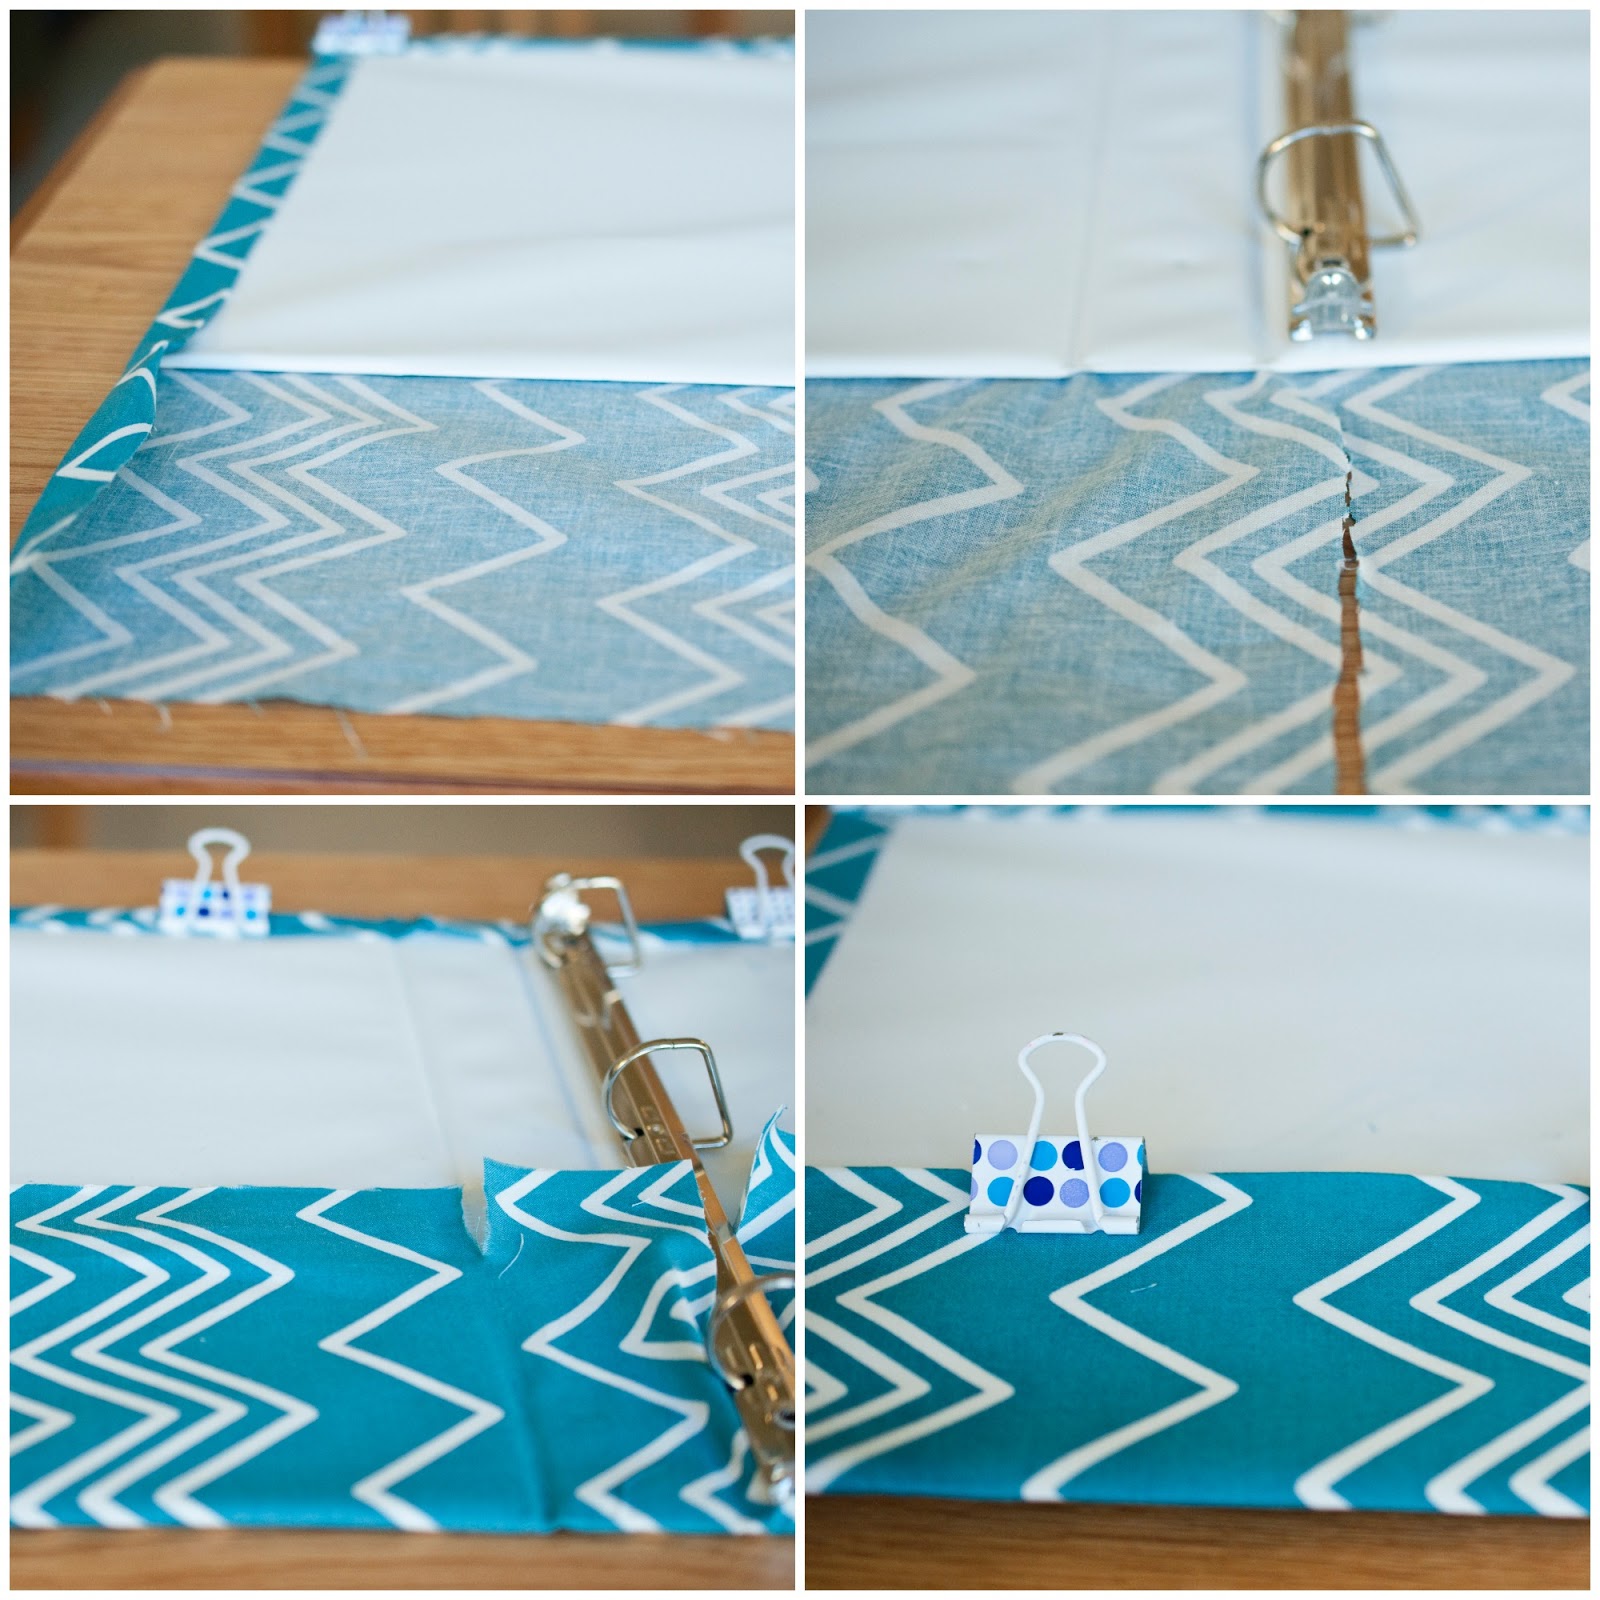
Cut the fabric up to the base of the binder like in the picture so you can slide it around the metal piece. Bring the fabric up towards the pockets. You can see I cut another part at the top because there was a mini pocket of sorts towards the middle of my binder.
Next, all you have to do is put glue on the inside of the fabric, lift the pocket up, and wedge the edge of the fabric in. It is a little tricky but its not too difficult!
Once you have completed this you are done! Now you can set your binders on your book shelf like I did and admire how your beautiful work (no shame!).
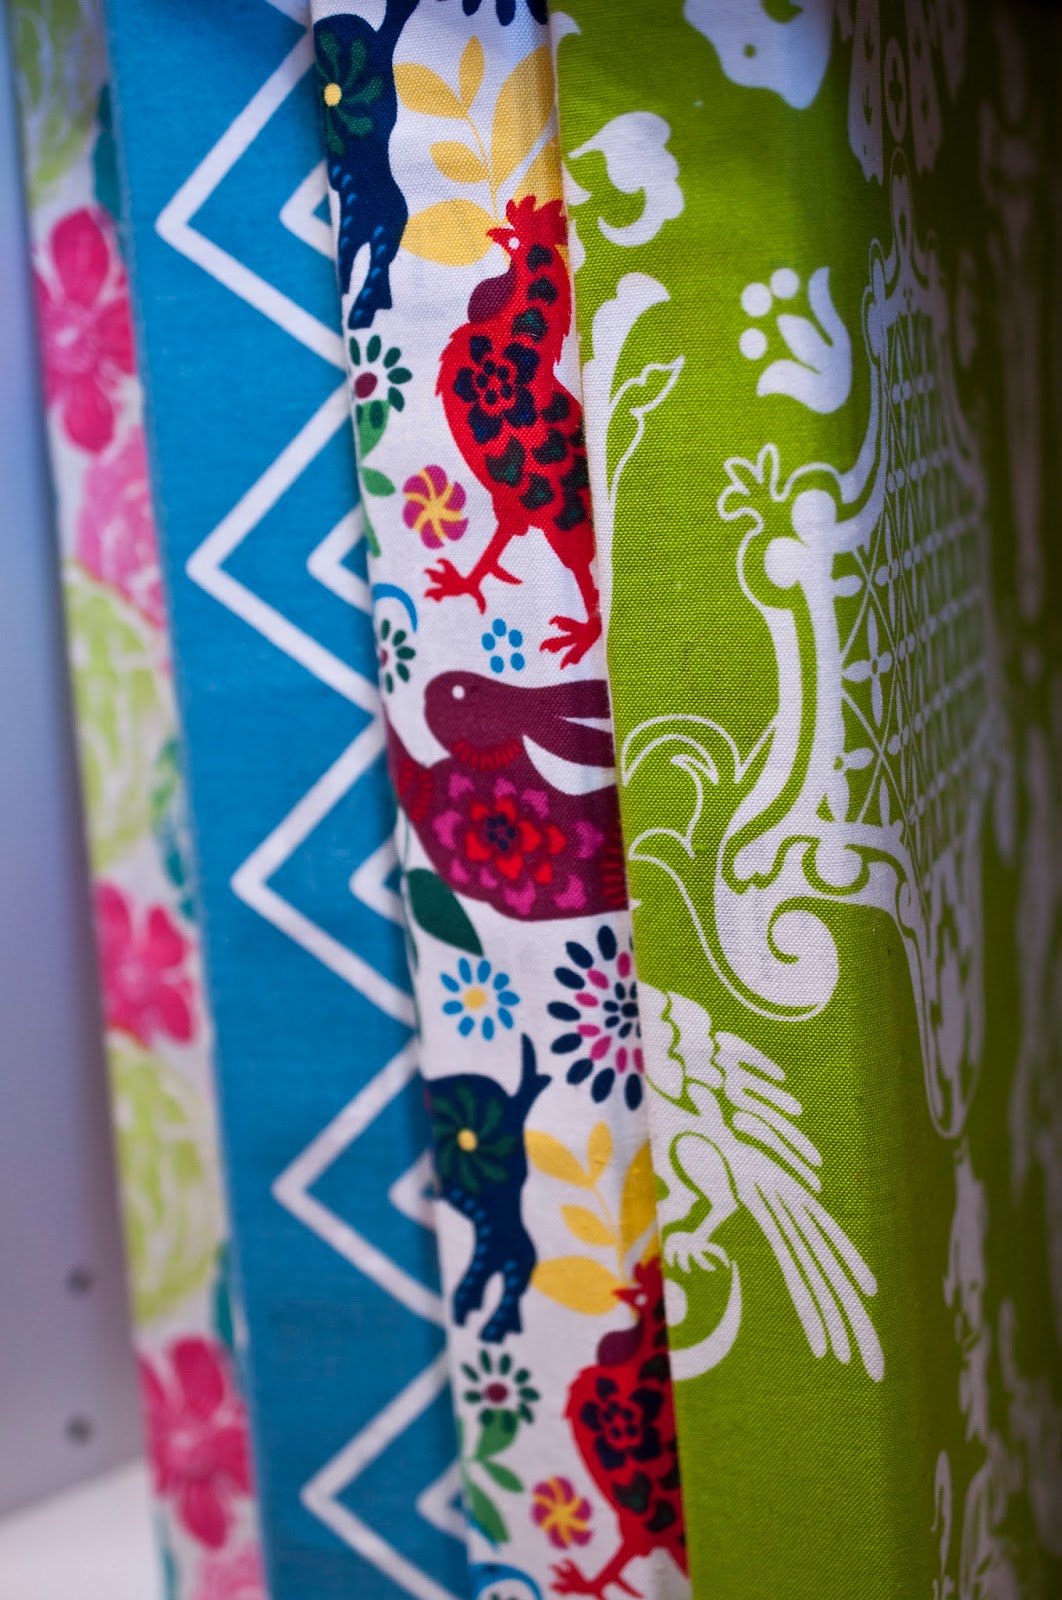

Now you have adorable binders you can carry around! They don't just have to be for school, either. You can put recipes in them, magazine clippings, or even DVDs. Hope you enjoyed this post :) Have a great weekend everyone!

